
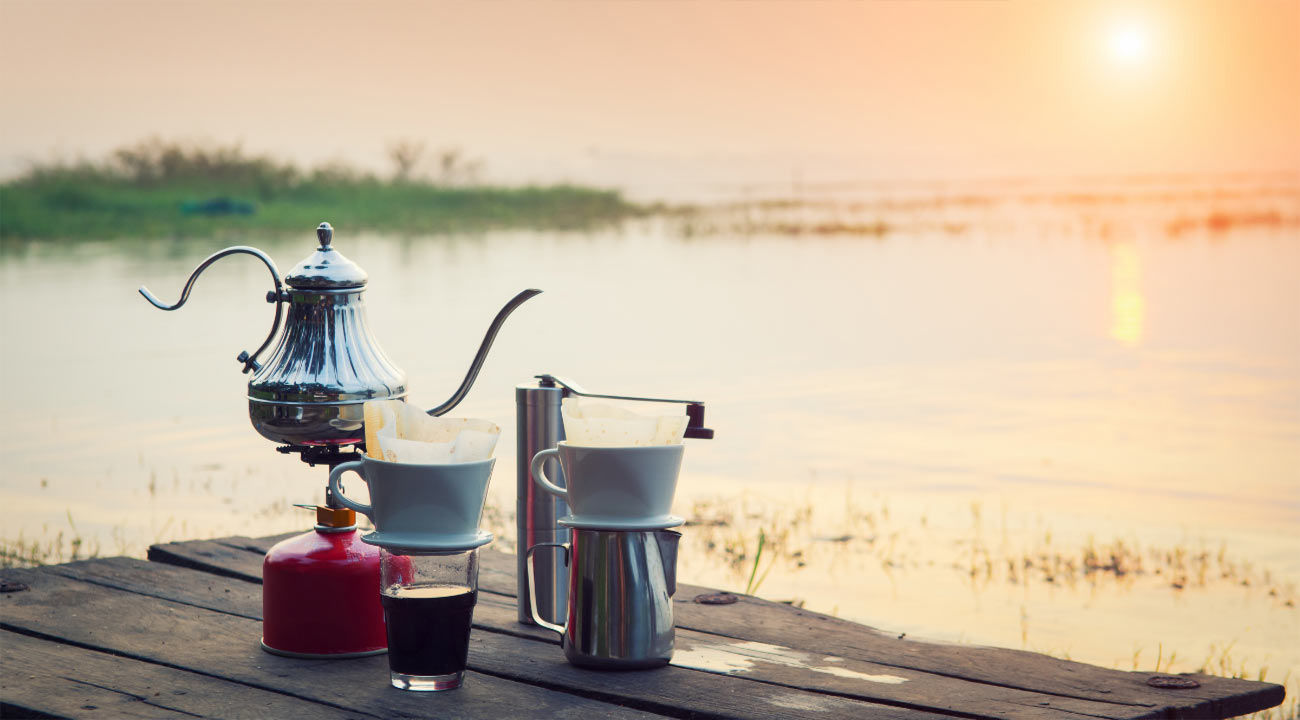
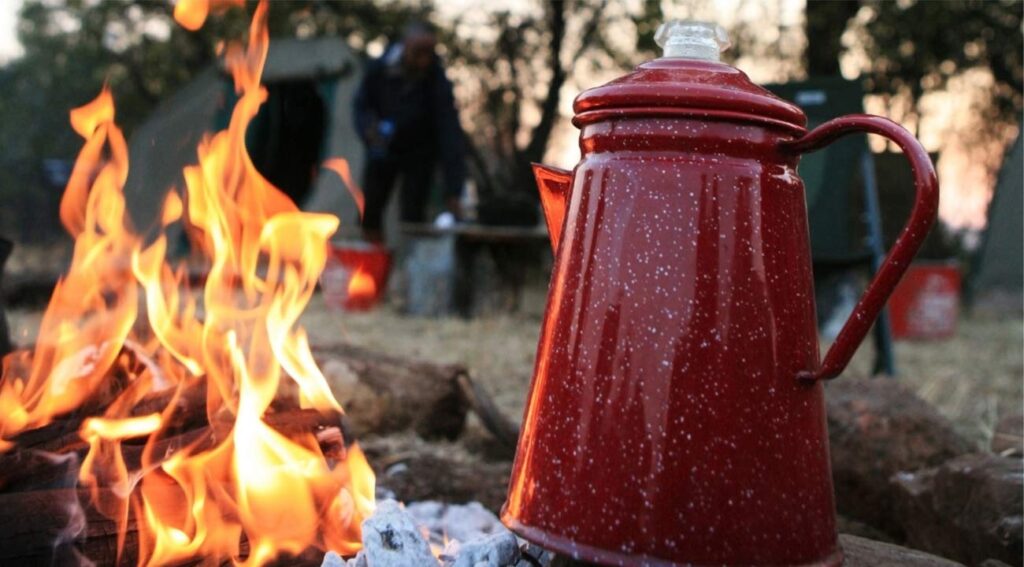
Camping and coffee are the perfect combo, camping without a hand-warming, hot cup of coffee just won’t feel right. And no, we are not talking about instant coffee. The camping percolator is the right answer if you’re worried about making coffee over the campfire.
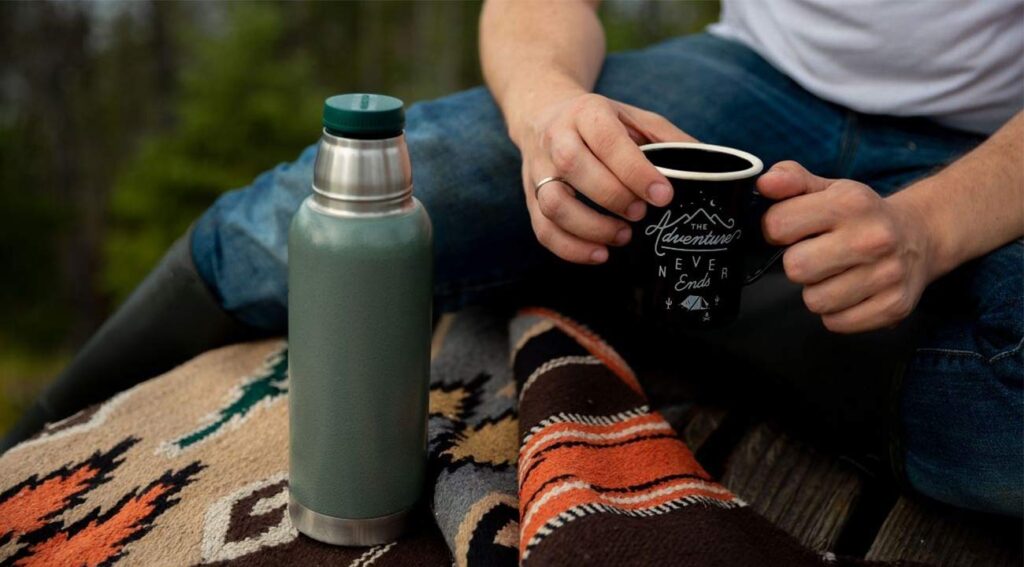
With the hustle of city life these days, it’s no surprise that more and more people are going camping for a quick getaway. Even if you’re on a camping vacation, you can still enjoy the greatest coffee.
But you don’t have to break your bank to buy an expensive coffee maker for that, you can just carry a camping percolator and make the best coffee without any hassle while you’re outdoors. Aside from other camping gear, a coffee percolator is also one of the must-have items to carry when camping. But what exactly is a camping percolator, and how does it work?
What Is A Camping Percolator And How Does It Work?
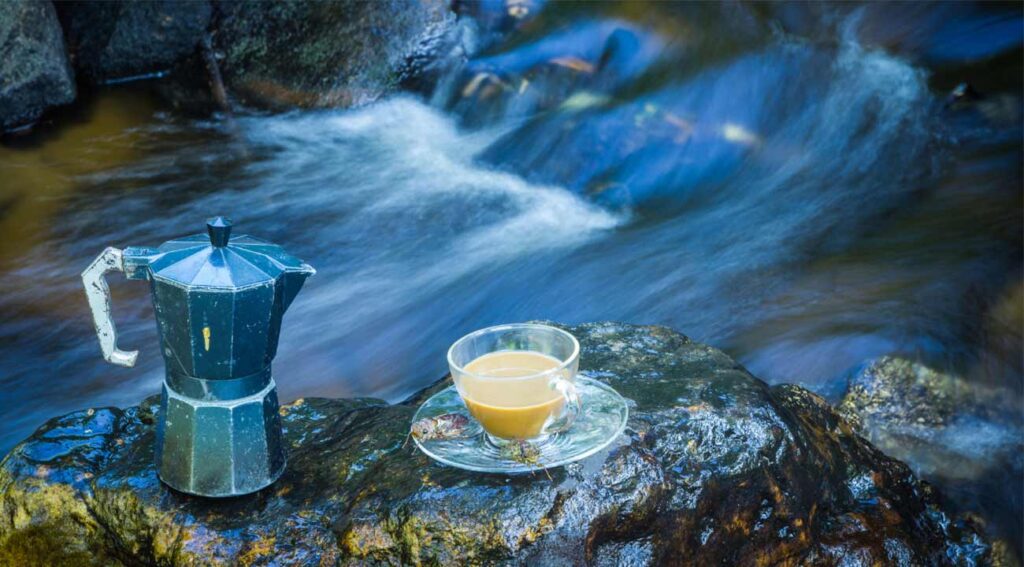
A camping percolator is a simple piece of equipment that you can use to make coffee while staying outdoors. The outer part of a camping percolator looks like a look like a coffee pot, and the inner part is provided with a basket for the coffee grinds.
Moreover, you don’t even have to use a filter in a percolator. The metal brew basket has several small holes in it that allow water to drop through while retaining the coffee grounds inside. However, in the case of finer coffee grounds, it may leak into the water.
Once the water in your pot is boiled, the air bubbles send the boiling water up a tube to the top of a ventilated basket, where it rains down over the coffee grinds. This process is called percolating.
How To Use A Camping Coffee Percolator?
Learning how to use a camping percolator can be challenging and requires some skill. Hopefully, this guide will help you better understand how to use a camping percolator.
Choosing A Camping Percolator
There are so many types of camping percolators in the market that you can be confused about which one to get. The stainless steel camping percolator is all the rage right now as they are sturdy, durable, and boasts greater capacity. You can also go for the Aluminum one if you’re looking for a lighter option. When venturing outdoors, you don’t want to pack that heavy and want something that gets heated quickly, so the aluminum camping percolators could be your choice.
However, the aluminum one may not be sturdier than the stainless steel one. Even though Enamelware Camping Percolators have been around for ages, it’s not the most durable, and the enamel coating tends to chip easily.
Building The Campfire
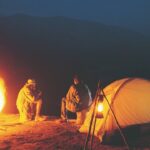
You would need a heat source in order to make a cup of coffee in the wild. Whether you’re a camping enthusiast or a beginner, knowing how to build a campfire is one of the essential and basic skills for camping. There are quite a few ways you can build a campfire. You can start your campfire both with firewood or a rock. After building the campfire, allow the flames to fade into a pile of red-hot coals. Because brewing with a percolator is simplest when it’s lying directly on the red-hot coals.
With high frames, you may hang it over the fire, lay it on top of the fire pit grate, or even place it near the burning embers. If you’re going to put the percolator over a campfire, make sure it’s sturdy and that you’re in a good position to keep an eye on that. If you’re using a portable gas burner, make sure the flame is high enough to heat the percolator.
Filling The percolator
Once you’re done building a campfire, it’s time to fill your percolator with water. However, before filling the water, check the mark on the percolator that indicates how high the water should be, or you may use the percolator spout as a reference.
Besides, filling the percolator above the spout might cause it to boil over. Also, you need to fill the water according to how many cups you want to make. However, making extra coffee is a good idea if you have a good thermos to keep it warm for a long time.
Assembling The Percolator
The coffee grinds are brewed in a percolator by pouring boiling water via a long stem into the brew basket. To assemble the percolator, attach the stem to the basket and then scoop up your choice of coffee beans into the percolator’s brewing basket.
The ratio should be two tablespoons of coffee per cup. Put the filter over the brewing basket to prevent the grounds from entering the brew. Put the lid on your percolator once you’ve placed everything in place.
Start Brewing
For a perfect coffee brew, you have to keep an eye on the percolator. If you want a rich, smooth, and profoundly scented coffee, it’s essential to turn off the heat at the right time while the coffee ingredients are brewing. When making coffee over a campfire, the easy tip is to keep the heat as low as possible. Now, when the coffee is ready for serving.
Final Verdict
Well, that goes everything you need to know about how to use a camping percolator. These steps are pretty easy, right? With a camping percolator, you can always have a good cup of coffee on the go. However, It will take some balance and effort to achieve an excellent cup of coffee without a scorched or burnt aftertaste. We hope following these easy instructions, you will be able to make a wonderful cup of coffee while enjoying nature to the fullest.
William Arrovo seeks thrills and laughter in everything he comes across. He is a fun loving person with a zest of exploring the breathtaking places around the globe. He feels content in sharing his experiences of travelling to various countries. He is grateful about enriching himself with a myriad of cultures and rejuvenating his soul while staying outdoors.
Leave a Comment