
Fishing can be a complex activity for many people. To enjoy fishing you don’t have to master it; you simply need the right equipment. Your fishing experience mostly depends on how well-organized your gears are. It’s important to understand the terminology of fishing gear before assembling your fishing rod. Hence, we have put together a few steps you can follow to set up a fishing rod effortlessly. Without any further ado, let’s get started.
List Of Fishing Equipment
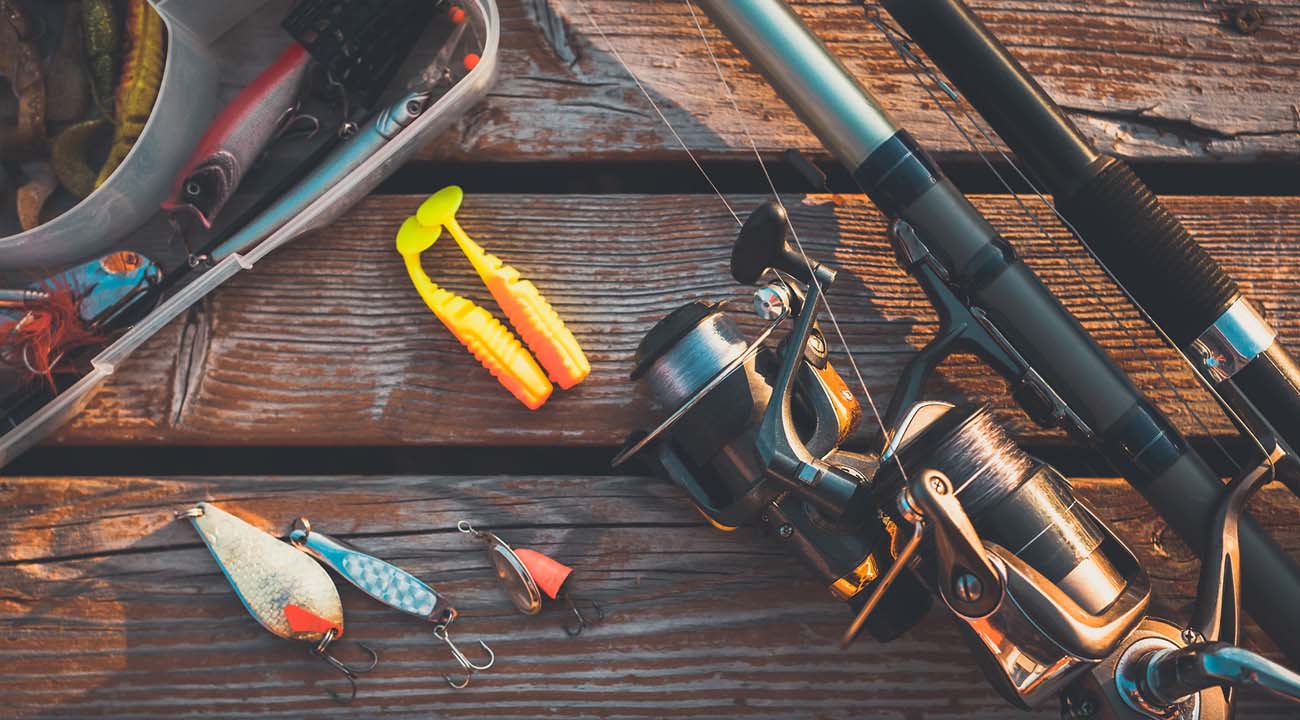
- Spinning Rod and Reels: Your spinning rod should be sturdy enough so you can have a good grip on that. Although it mostly depends on what kind of fish you’re targeting and what variety of lures or baits you’re using. So choose according to that.
- Fishing Line: There are several types of fishing lines in the market. The most commonly used are monofilament, fluorocarbon, and braided. You can choose a monofilament fishing line as it’s both stretchy and affordable.
- Scissors: You’ll need scissors for cutting off the extra fishing lines.
- Baits and Lures: There is a wide range of baits and lures that you can choose from. You can use both live and artificial lures.
- First Aid Kit: Many people forget about the first aid kit, but it’s essential. A first aid box treats minor cuts and makes sure the wound doesn’t get infected. You need to go to the doctor for deeper cuts, but you can use a fresh cloth to stop the bleeding as a primary aid.
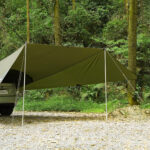
- Dry Bag: If you want to protect your phones, keys, wallets, etc. from saltwater, then you will need to get a dry bag for fishing trips. These are specialized waterproof bags that prevent moisture from coming into contact with your sensitive belongings.
7 Steps For Setting Up A Fishing Pole
1. Assembling Spinning Rod
Let’s start with a clean rod. Wipe off any dust or sand from it. Usually, you need to connect two sections to make a one-piece rod. Take the lowest part and insert it into the top part of the rod. Each part will have a cap or a ferrule to connect the pieces and make a rod. Make sure the guides are in exact alignment. Don’t forget to slacken the reel seat.
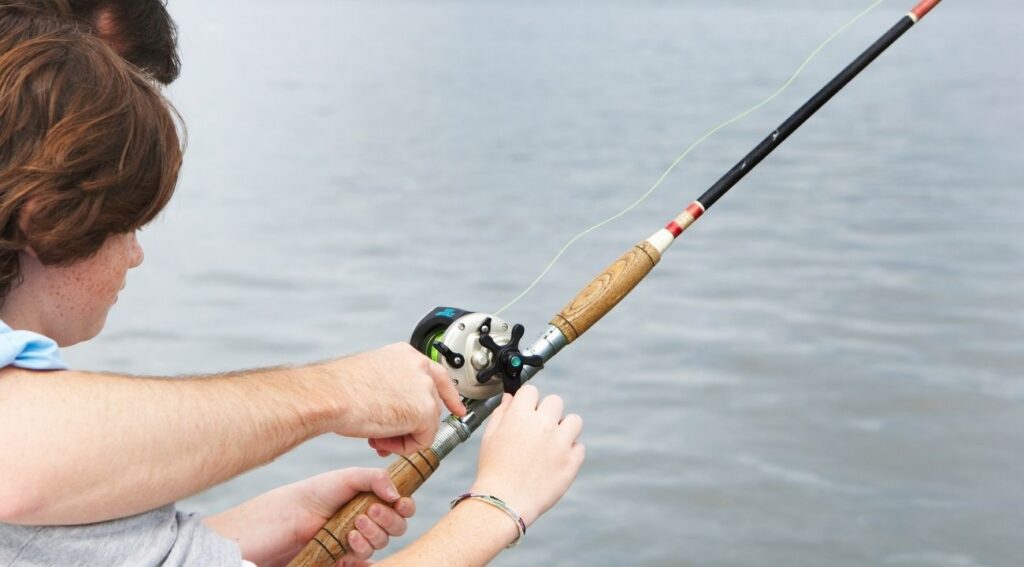
2. Attaching Rod And Reel
The reel seat should be big enough so the reel feet can go through. After positioning the rod, tighten the reel seat and make sure the reel does not move. It should be sturdy enough so it doesn’t cause any problems with your grips. Whether you’re left-handed or right-handed, you can switch the handle at your convenience.
3. Fishing Lines
Before attaching your fishing line, observe the direction of the spool, whether it’s clockwise or counterclockwise. The way the line comes off from the package should be the exact way it goes into the reel. In simple words, if the spools roll clockwise, the line should go clockwise as well. Now flip the bale arm to the other side. To start the rigging, you need to thread the fishing line through the rod. First, put the lines through all the guides of the fishing rod. Most rods have three to four guides.
4. Spool The Reels
After attaching the lines, you can spool the reel by tying a simple knot. There are many knots that you can try. Overhand knot, clinch knot and palomar knot. These are the most commonly used knots. If you have an extra line left at the end of your knot, simply cut it off with scissors.
After closing the bail arm, spool your reel, and keep the spool on a flat surface so the reel would keep going in the same direction as the spool. If the reel and spool don’t spin in the same direction, you have to start all over again. To avoid any problem with the casting, don’t load too much of the fishing line.
5. Selecting The Lures
Selecting a lure or bait is one of the most vital parts of fishing. A lot of factors matter in choosing a lure. Such as what kind of fish you’re going for, what’s the weather like, if the water is fresh or muddy and the list goes on. During sunny days you can choose light-colored lures or silver. Using a deep-colored bait would be ideal for stormy days.
Now coming to the types of lures. They come in different sizes, colors, and shapes. For smaller fish, a spoon lure would be ideal. They are curved metal lures. Soft plastic lures would be great for bass fishing. You can go for jigs as well; it’s one of the popular lures. They have extra weight in their head, so they go down quickly. You won’t be needing any sinkers to add extra weight to your lure.
6. Attaching The Lures
Before you thread the line through lures, you need to learn how to make a knot as the fishing lines are thin and difficult to see. So, it’s better to practice the knot. You can simply thread the line through the eye of the lure and twist it five times. Then let it go through the eye of the lure and tighten the knot.
7. Adding Weight
You can add a sinker as a weight to your baits. Adding weight will help you in casting and slowing down your target. Make sure to choose the right-sized sinker. The weight mainly depends on the size of your lure and the depth of water. If your sinker is too light, you won’t reach your target. If it’s too bulky, your bait will drop before you can hook the fish. There are plenty of sinkers to choose from, such as sliding, rubber core, split-shot, etcetera.
A split shot is the most versatile sinker as it can be placed anywhere along the fishing line. It’s circular-shaped, small, and has a split in the middle. When you need a bit heavier weight, you should go for rubber-core sinkers. Eggs or barrel sinkers are also called sliding sinkers. It has a hole in the center. For bottom fishing, you can go for this one.
Conclusion
Here goes our simple guide that would help you to assemble your fishing equipment. Learning how to put together your fishing gear will make a great difference in your fishing experience. A properly put-together fishing pole will make sure, you never go home without a fish. We hope this content has been informative for you. Enjoy your fishing!

William Arrovo seeks thrills and laughter in everything he comes across. He is a fun loving person with a zest of exploring the breathtaking places around the globe. He feels content in sharing his experiences of travelling to various countries. He is grateful about enriching himself with a myriad of cultures and rejuvenating his soul while staying outdoors.


Leave a Comment