
Nothing is more frustrating than getting painful hiking blisters that worsen with each step you take. Unfortunately, many hikers and backpackers believe that blisters are unavoidable, and a few hours into a multiday hike will most likely leave your feet in excruciating discomfort caused by blisters. But, you don’t have to tolerate this severe discomfort while hiking, as blisters are often preventable.
When hiking, blisters can not only make your journey painful but can also severely slow you down. Moreover, getting blisters while hiking is a huge concern from a safety standpoint, especially if you’re venturing out on a remote trail with no other option than to walk.
Well, the good news is that you can treat this unpleasant blister, but understanding how to avoid hiking blisters in the first place is much better. Furthermore, if you don’t know what causes the blisters, you may not successfully prevent them. Thereby, before getting into the prevention techniques, let’s talk about how blisters form.
Blisters: What Causes Them?
Blisters form when moisture or heat comes into contact with your skin, aggravating it with friction and pressure. The most common cause of blisters while hiking or backpacking is when your sock or shoe rubs against your feet for a lengthy period. Moisture, pressure, and friction are some of the main culprits that cause a blister. Eliminating these factors may go a long way to preventing blisters.
- Moisture: Usually, blisters mainly occur when your skin is exposed to moisture or heat. Whether it’s sweat or your feet have been submerged in a stream, you’re more likely to suffer blisters. As wet skin is more vulnerable to blisters.
- Pressure: Blisters may also form when your feet get stuck in the tight place of your hiking boots while causing a pressure point. And the skin of your feet wrinkles and shreds as the pressure increase.
- Friction: When your wet feet trap against wrong-fitted boots or wrinkled socks, the friction tends to cause the thick outer layers of your skin to move more than the delicate inner layers. That ultimately turns into a blister.
5 Ways to Prevent Blisters When Hiking
Trust me, you don’t want the hassle of treating blisters on the trail. Hence it’s crucial to take precautions against it. Here are some of the tips and tricks that are going to keep your feet blister-free for miles.
1. Picking The Right Footwear
If you want blister-free feet throughout your hiking journey, you need to make an effort to find a good hiking boot that fits you properly. Hiking on rough terrain can take a toll on your feet. The least you can do to keep your feet from blistering is to provide them the support, comfort, and protection they need. When your shoes or boots don’t fit properly, friction occurs.
The basis of blister prevention is mainly acquiring the appropriate shoe fit as too tight shoes will most likely create pressure and friction, which eventually will result in blisters. You can go for hiking boots that are 1/2 a size larger than your regular shoes. This way, your toe can have extra room to stretch. However, your heel should stay in the same place, and you don’t want your feet to slide or slip, so make sure your footwear is not extremely big. If you still struggle to get the perfect fit, you can try some supportive insole as well.
2. Lace-Up
Boots that are properly laced, neither too loose nor too tight, are essential for blister prevention. Your foot should not slip forward or backward, and your ankle and toes should not rub against each other. Adjust the lacing to create a closer fit if you see any friction or hot spots.
There are several lacing techniques that you can use to alleviate shoe-fitting difficulties and avoid blisters when hiking. You can do a surgeon’s knot to make sure your ankle stays way into the heel counter of the hiking boots. Make sure your foot is in the right place before tying the laces. After securing the first surgeon’s knot, wrap the laces around each other and tighten them.
Before doing a second surgeon’s knot, thread the lace through the hook. You can do this knot a couple of times then snuggle it properly. You can crossover the ankle whoops to finish it off. This way, you can lock your heel towards the back, and the toe won’t move around the end of the hiking boots. You can have enough foot flexion as well. You need to tie up your shoes or boots firmly enough to avoid slippage and provide comfort.
3. Break-In New Footwear
If you’re planning to wear new shoes for your next hiking trip, make sure to break them in before you hit the road. To break in, you can wear them around the home, to the supermarket, or you can take a walk wearing the new shoe. Breaking in the shoes allows them to get soften and work as a potential barrier against friction, which is one of the leading causes of blisters.
Don’t forget to wear socks when you’re trying to break one of your new shoes. Hiking boots tend to be a bit stiffer and built tough to give extra support. Thus, to soften the material, go for a small hike before hitting the trail for any longer hikes. Old boots with good tread on the sole and support on the inside are significantly more comfortable and adaptable to your feet.
4. Keep Your Feet Dry
Take a break from trekking when your feet begin to feel heated, then remove your hiking boots and socks to let your feet air out and dry. Keeping your feet dry is very important if you want blister-free feet. In terms of particularly sweaty feet or hiking through rain or water, bring a couple of extra socks so that you can change into dry ones.
You can also try some foot powder to absorb any excess moisture. Keeping your feet as clean as possible will help you reduce the risk of blisters getting infected from any dirt or debris. While it’s unlikely for a blister to get infected, it’s essential to keep an eye on it.
While hiking, instead of cotton, wear moisture-wicking wool or wool-blend socks that dry rapidly. Because cotton socks absorb moisture and almost always result in blisters. Socks that feature extra cushioning in the heel and other high-impact places reduce the risk of these areas getting worn and losing fibers contributing to any friction. You can also find some socks that are blister-resistant. Make sure you have a backup pair of hiking socks in your bag in case your current pair gets wet and sweaty.
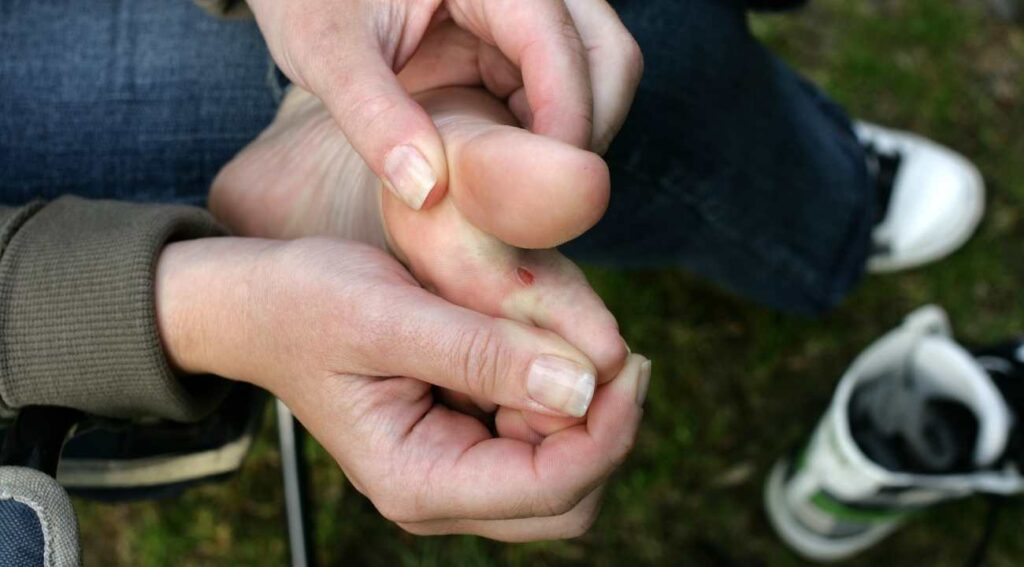
5. Treating Hot Spots
If you notice any discomfort in your foot while trekking, it’s most likely a hot spot that will develop into a blister pretty soon. So, stop right away and put two or three pieces of athletic tape in the area. Some people suffer blisters in the same spots every time they go hiking; in that case, you can tape those areas before you hit the road. Thus after getting redness or a hot spot in your feet, don’t wait for it to turn into a blister rather, treat it immediately.
How To Treat Blisters?
If you have developed blisters on the trail despite taking precautions, there are several ways to help reduce and treat the blisters effectively. Here are some of the steps you can follow in dealing with blisters.
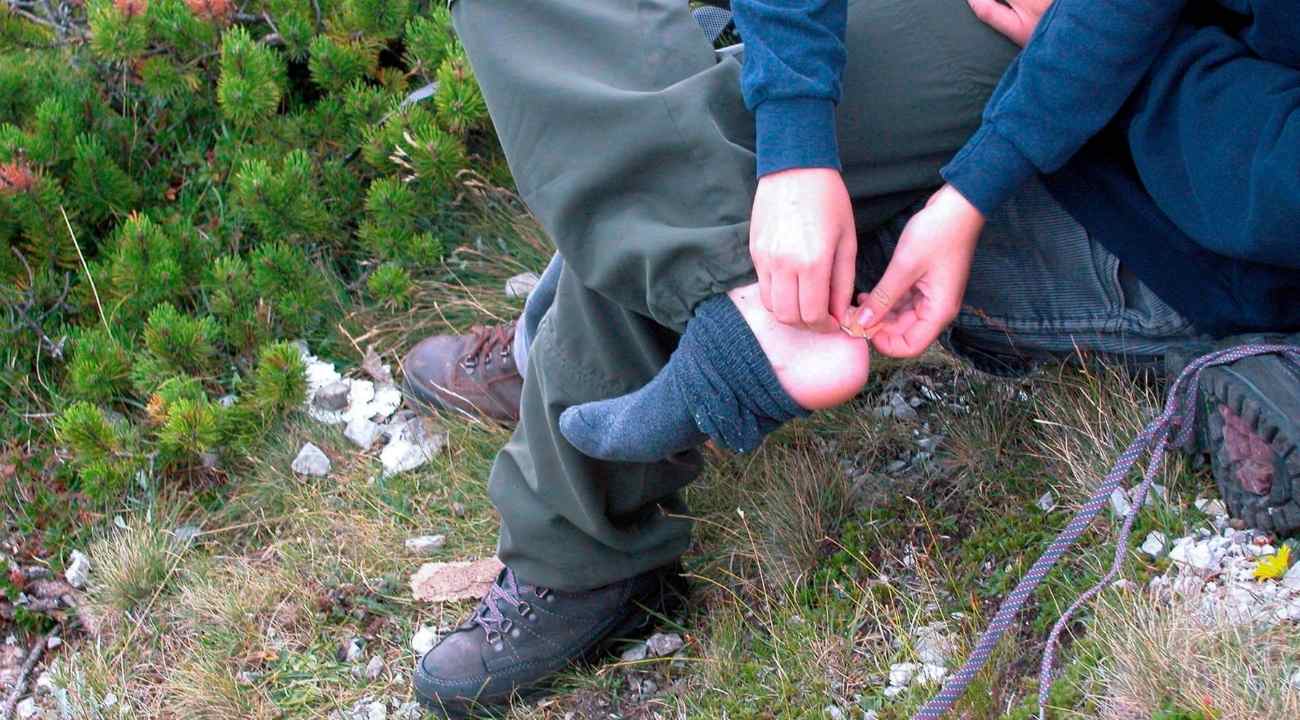
- If you feel any kind of discomfort or hot spot forming in your feet, stop immediately, find a place to rest, and remove your shoes to examine your feet.
- Clean and dry the area if a blister hasn’t developed yet, then wrap the hot place with a thin piece of duct tape. The duct tape will prevent friction between the hot spot and your feet. Make sure the duct tape is wrapped as smoothly as possible to your skin.
- If you find your skin is noticeably red and sore, cover the wound in antibiotic ointment and an adhesive bandage before wrapping the affected area in duct tape. In this stage, it’s not just a hot spot, but it’s a blister.
- Don’t try to pop or drain the blister while you’re on the trail. You will risk your blister getting infected. However, if you still have to pop your blister on your own, start by cleaning the surrounding area of the blister with antibiotic soap. Before inserting a needle into the base of your blister, don’t forget to sterilize it. After popping the blister apply ointment and wrap a band-aid around it.
- To avoid any discomfort in the future, cut and insert Molefoam with a doughnut hole around the blistered area.
Blisters are uncomfortable and painful, but they don’t have to be an inevitable part of your hiking and backpacking journey. Following these easy guidelines can help you avoid blisters and enhance your hiking comfort on your next trip. However, carrying a blister kit will allow you to treat hiking blisters on the move; while prevention is always preferable, it’s always a good idea to be prepared.
William Arrovo seeks thrills and laughter in everything he comes across. He is a fun loving person with a zest of exploring the breathtaking places around the globe. He feels content in sharing his experiences of travelling to various countries. He is grateful about enriching himself with a myriad of cultures and rejuvenating his soul while staying outdoors.


Leave a Comment