Pop-up tents are an excellent option for any hiking or camping trip, especially if you don’t want to deal with the trouble of setting up traditional tents. Unlike regular tents, setting up pop-up tents doesn’t require a lot of time or effort.
What makes a pop-up tent so great is that you can get your shelter up quickly and easily. You just need to unzip the bag, pull the tent out and toss it into the air. Your pop-up tent will be ready to use right away. While pop-up tents are quick and straightforward to set up, folding them back to the circle shape is pretty tricky. The pop-up tents are not going to fit in your bag if it’s not folded correctly. The goal is to make your pop-up tent as compact as possible so you can carry it around your trip easily. Before jumping into the folding process, let’s check out how to set up a pop-up tent first.
How To Set Up A Pop-Up Tent
People tend to lean towards pop-up tents because of their speedy setup process. They are lightweight and portable, and despite their compactness, they are pretty spacious as well. Here is the super easy installation process of a pop-up tent.
Location
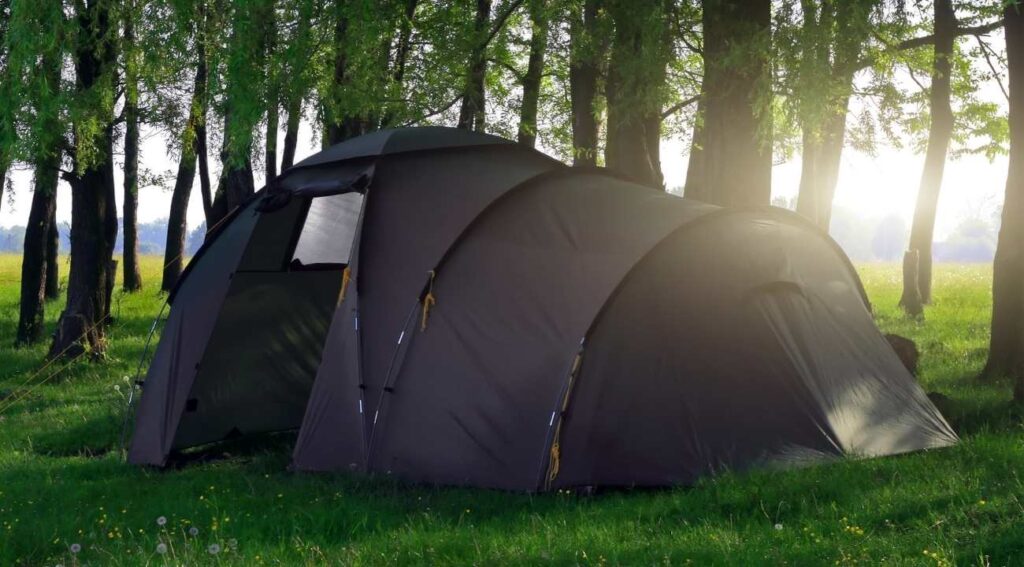
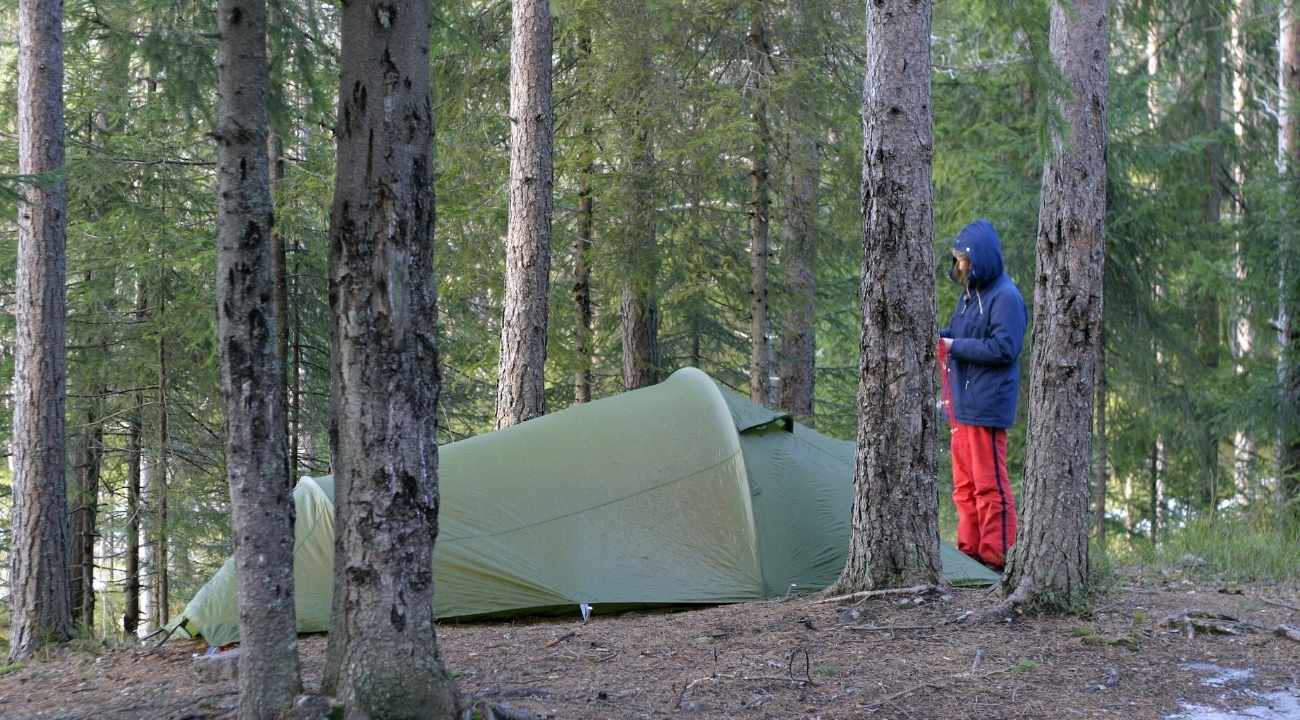
First, you need to pick up a perfect location for your pop-up tent. Then, make sure to abide by all of the rules and regulations of your campground. Now, when it comes to pop-up tents, look for a flat surface on the ground that is higher than the surrounding area. This way, your pop-up tent will not flood when it rains. Also, sleeping in a flat area is much more comforting than on a slop. Besides, avoid placing your pop-up tent underneath any tree. There is a risk of the branch falling over your tent.
Take Out The Tent
Before taking out the pop-up tent from its bag, clean the area where you want to put the tent. Clear out any rocks, pebbles, dirt, sticks, or sharp objects that might harm the fabric of your tent. Without clearing out the surface area, you won’t be able to sleep comfortably in your tent. Once you’re done cleaning, it’s time to unpack the pop-up tent from the tent bag. Pull off the restraining band of the pop-up tent bag and gently throw the tent on the ground area you just cleaned.
Securing The Tent
Now that your pop-up tent is open on the ground, you can keep the entrance of your tent in your desired position. In case you have to place your tent on a slopey or uneven surface, keep the entrance of your tent facing downhill, it will prevent flooding. Lastly, it’s time to secure your pop-up tent to the ground, so it stays put. Normally, you would find loops at either end of the pop-up tent, so you can peg through these loops to secure the tent. Or you can hammer the pegs toward the tent into the ground at an angle, so your pop-up tent can withstand the winds.
Most of the pop-up tents come with a guyrope to secure the tent into the ground. It’s an adjustable rope, so you can secure your pop-up tent to the ground if there’s any space restriction.
How To Fold A Pop Up Tent Into A Circle?
Thanks to their simplicity and convenience of setup, pop-up tents have become increasingly popular in recent times. In this article, we are going to walk you through some of the simple steps on how to fold a pop-up tent into a circle.
Prefolding Preparations
Before you begin folding your tent, there are a few things that need to be taken care of.
- Cleaning the tent
Before putting away your tent take a few minutes to clean it. Turn over the pop-up tent and shake out any dirt or sand that has been trapped inside the tent. You can wipe your tent with a damp cloth or wash it with a little bit of water.
- Dry out the tent
Whether it’s due to rain or cleaning if your tent is wet allow some time for your tent to dry before folding it. Otherwise, there’s a risk of growing mold in your tent. Even if your tent is not dirty or damp, at the very least let it air out before packing it up.
- Removing layers
Many tents come with rain flaps or tarp that protects the tent against rain and sunlight. If your pop-up tent is covered with rain flaps or tarps, you need to remove them before you start folding.
Start Folding (Large Dome Pop Up Tent)
Large dome tents are one of the most common types of pop-up tents in the market. This pop-out tent consists of two poles at the top and is bent at every four corners to anchor to the floor.

Step 1: Folding top and bottom poles
Stand beside the tent while extending your hand to grab the top two poles of the tent from both sides, and bring them together. Fold up one of the bottom poles from the tent’s outer edge, which now hanging to your left and right. Cross one of the bottom poles over to the top poles. Repeat this with the other bottom pole until you hold all four poles together.
Step 2: Figure-eight
While holding all four poles together, you’ll notice the pop-up tents resembles the shape of a big taco. Reach out over the top of the tent and turn it backward. Flatten it by bringing the tent to the ground. Since pop-up tents are pretty lightweight and flexible, it’ll be easier to bring the tent to the ground. If you’ve done this step properly, you’ll be left with two circles flat on the ground, that resemble figure 8.
Step 3: Lift and rotate
After attaining the figure eight position, you need to bring the two circles together to form one circle. Simply slide the circles to make sure they’re on top of one another. Then, align the edges.
Step 4: Pressing and sealing the tent
Make sure you have a firm grip on the poles throughout the process. Pop-up tents are designed in such a way, that they can bounce back into the shape of a tent. You may use your hands and knees to press down the tent to eliminate any remaining air. If your tent comes with a velcro strap use it; otherwise just simply make a knot with an elastic band or lace. Once you’re done with your folding and tying, place your tent back inside its designated bag, making sure it is securely attached to its holder.
Start Folding (Beach Pop-Up Tent)
The beach tent comes with one central pole and they are shaped like a pyramid. The simple instructions below will show you how to fold up a beach pop-up tent properly.

Step 1: Grasping both sides of the tent
Beach tents are generally smaller than conventional tents and don’t have multiple poles. Start by unzipping the tent door so the air can escape the tent. It will make the folding process a lot easier. Then, grab both sides of the tent and bring it toward the center. As you do this you’ll see the tent is closing on itself.
Step 2: Oval shape
While folding the sides, pull one side of the pop-up tent to the center and then put it flat on the ground. Bring the other side on top of the one you’re holding down to the ground. If you managed to do this step correctly, it should have the shape of an oval.
Step 3: Figure-eight
Flip the tent in an upright position and as you’ll put pressure on the center of the edge, this way your pop-up tent will get into the figure 8 shape. Make sure the tent stays flat on the ground.
Step 4: Make a circle
Now you have to form one circle with the tent by joining the circles from figure eight. In terms of larger pop-up tents, you need to slide the circles together whereas, for a pop-up beach tent, you have to fold one side of the circle over the other. Once you have your tent folded in the shape of a circle, keep a firm hold on the tent by using your knee. Don’t forget to tie up the pop-up tent with an elastic band or lace before placing it in the bag.
To conclude, pop-up tents are ideal for people who are looking for a simpler, and short-term alternative to straightforward camping tents. When you fold your pop-up tent into a proper circle, it will fit in the bag on the first try, avoiding any damage to the delicate interior poles. We hope following the above steps, you would be able to fold up your pop-up tent into a circle in no time.

William Arrovo seeks thrills and laughter in everything he comes across. He is a fun loving person with a zest of exploring the breathtaking places around the globe. He feels content in sharing his experiences of travelling to various countries. He is grateful about enriching himself with a myriad of cultures and rejuvenating his soul while staying outdoors.


Leave a Comment