

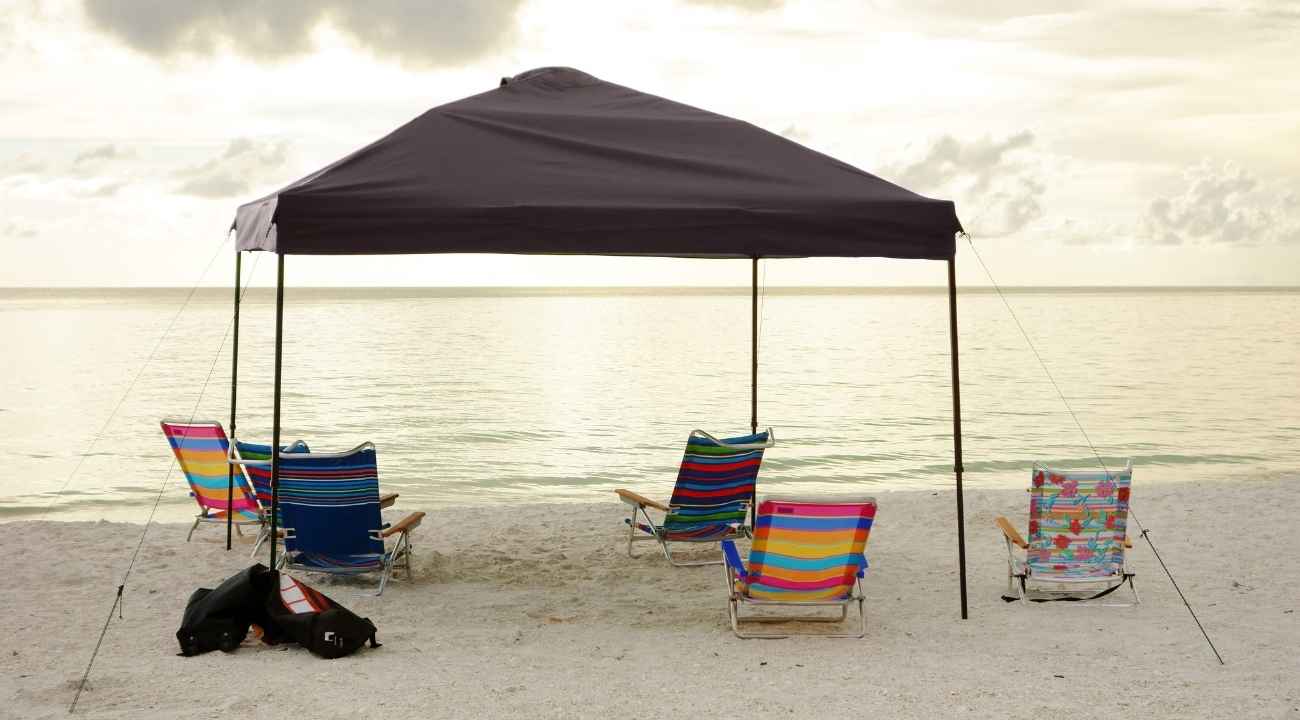
Are you planning to host an event and worrying about not having enough shade for your guests? Well, a canopy tent can come in handy in this situation. Canopy tents are very easy to set up. They are very versatile and can be installed almost anywhere, like in your backyard, garden, and even the beach. However, you may find it a bit tricky to set up larger canopies. So, here is an in-depth guide on how to put up and take down a canopy tent.
Setting Up A Canopy Tent
Although the setup procedure is quite simple, it isn’t very quick. If you don’t follow the instructions accordingly, you might end up making a mistake and have to start all over. To become a true master of canopy tent setup, there are five steps that you need to follow. The steps are mentioned below.
Step One: Take Out The Canopy From The Case
Since instant canopies come in a carrying bag, they are highly portable. Take the carry bag to your predetermined area and take out the canopy from the bag. Although canopy tents are typically not heavy, it would be best to get a helping hand. Unzip the bag and take the canopy out very carefully so that the fabric or side doesn’t get damaged.
Step Two: Frame Expansion
Canopies come with expandable frames, so you don’t have to go deal with any assembly process. Ask a friend to help because you will need some assistance here. Tell your friend to stand on the exact opposite side of the canopy. Both of you need to hold the middle truss bar of the tent and pull slowly. You will see that the tent will gradually expand. After you have it expanded halfway, move on to the next step.
Step Three: Attaching The Roof
Once your canopy is partially expanded, take out the roofing fabric and unfold it. Then attach the fabric on top of the frame and secure it with velcro straps. Next, you’ll notice elastic straps on the roofing fabric. Attach it with the lower truss bar of your tent’s midpoint on each side. These elastic straps will keep your canopy roof evenly at the top.
Step Four: Adjust The Height Of The Canopy
Look for a height-adjusting clip that will help you to partially expand the canopy legs a few feet from the center. Most canopies have this height adjustment facility so that the users can find a suitable height that works for them. Extend all four legs to a certain level so that people can easily move inside the canopy. For the best result, you will need 3 more people so that all of you can simultaneously adjust the height of each leg.
Step Five: Full Expand And Further Attachments
Now it’s time to expand your canopy to its full size. Grab the middle truss bar and slowly pull it until you hear a click. The click means that the truss bar can’t expand more. Now once you have expanded the canopy completely, firmly stake down the canopy to the ground. And your canopy is now ready to be used. You can also add some sidewalls to it if you like.

Taking Down A Canopy Tent
After you are done using the canopy, how do you take it down? Taking down instant canopies is as easy as setting them up. It’s the same setup process, just in reverse, with a few extra considerations. Here are the steps.
Step One: Unstake The Canopy
The first thing you need to do to take down your canopy is, remove all the stakes from the ground. If you have put on some extra weight to withstand wind, then take them off from the canopy legs. Keep the stakes in your carry bag separate so that they do not damage your canopy fabric.
Step Two: Take Off The Side Walls And Lower The Height
Then detach the sidewall attachment clips and take off the sidewall completely. Now you have to loosen the height-adjusting clip of the canopy legs and slowly lower down the legs. Decrease the height steadily so that you can easily access the roof.
Step Three: Remove The Tent Roof
Next, remove the elastic straps from the lower truss bar from each side of your tent. That way your roofing fabric will be partially free from the canopy’s structure. To completely remove it, undo the velcro straps from the structure. Now you can remove the entire roofing fabric from the canopy structure.
Step Four: Take Down The Canopy Structure
Now that you have successfully taken down the fabric from the canopy, stand horizontally on the opposite side of the canopy frame with a companion. Then gently push the frame in the middle to take down the structure. And that’s how to successfully take down a canopy tent.
Maintenance Of A Canopy Tent
To maintain your canopy tent, you need to clean them after each use. First, its roof fabric and side walls need to be rinsed with water. If the fabric can’t be cleaned with only water, then use a mixture of mild detergent and water on it. Wipe the entire fabric by dipping a soft sponge or cloth into the mixture.
Avoid using highly concentrated washing detergent because it will damage the water and fireproof coating of your canopy fabric. For the same reason, canopy tent fabric should never be cleaned in a washing machine. After you are done washing, the canopy tent fabric should be allowed to dry completely. Do not put away the canopy while it’s wet as it can deteriorate the integrity of the canopy fabric.
Final Words
Hopefully, now you have adequate knowledge about how to put up and take down a canopy tent. If you already have a canopy tent, practice assembling it with the help of a friend and then put it back in its carry bag again.
If you don’t have a canopy tent and looking forward to buying one, you can check out the best canopy tents that can withstand all environments. With that being said, go out and enjoy the outdoors with your family and friends under the shade of a canopy!

William Arrovo seeks thrills and laughter in everything he comes across. He is a fun loving person with a zest of exploring the breathtaking places around the globe. He feels content in sharing his experiences of travelling to various countries. He is grateful about enriching himself with a myriad of cultures and rejuvenating his soul while staying outdoors.


Leave a Comment